Recently we were presented with a requirement; how to waterproof the bottom of a garden shed to stop water getting in between the metal walls and the concrete slab. The shed was already constructed so the solution needed to work without pulling it apart. It also needed to be cost effective, easy to install and able to handle exposure to UV and weathering. In this blog post we explain what we came up with, how it was installed and present the results (spoiler: it worked).
Though we were working with a standard garden shed, this same principle works for sealing many kinds of gaps. Around window or door frames, light fittings, joins in roofing, electrical boxes or panels on boats are all potential applications. Read on for more.
How to stop water ingress between the shed walls and floor
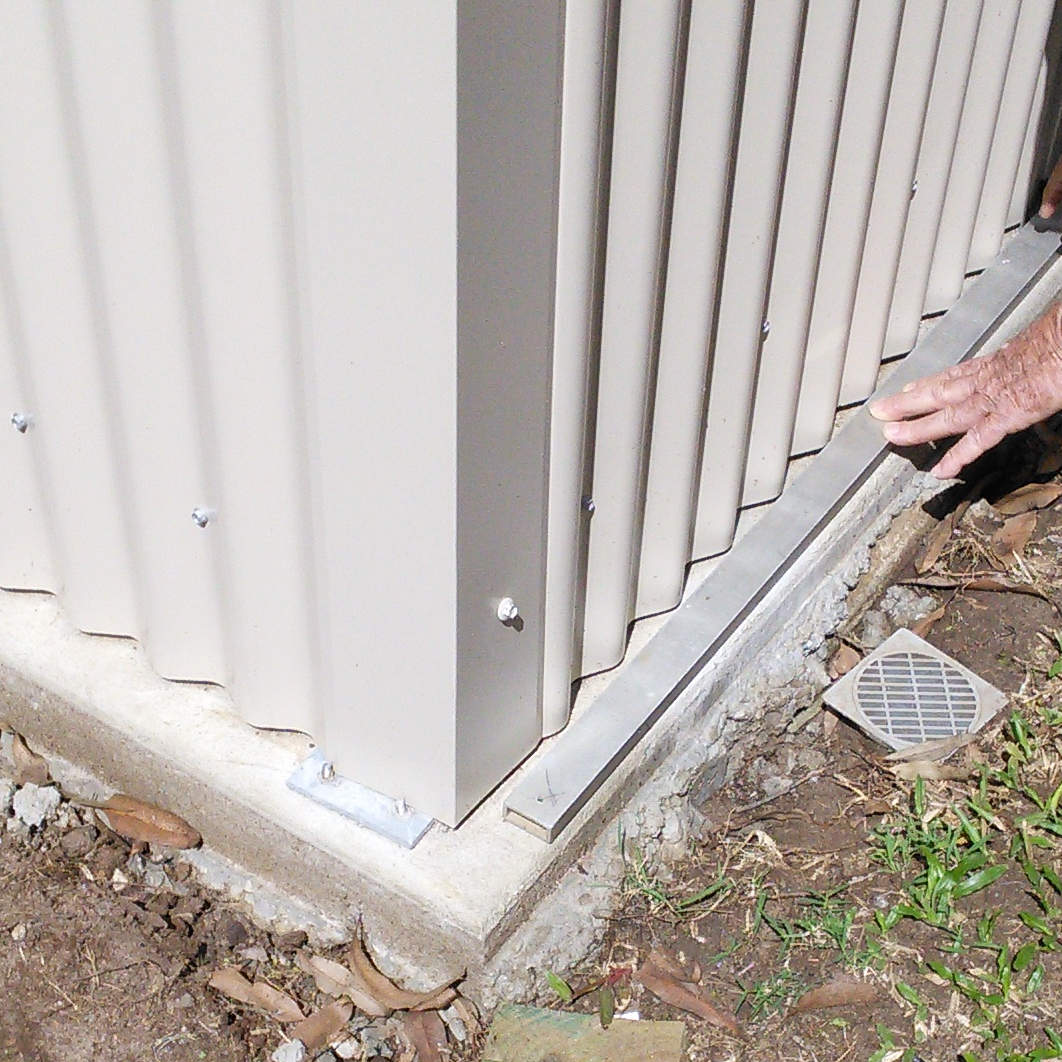
The problem was quite simple, we needed to stop water from getting into the shed. The lay of the land around the shed meant there was the potential for rainwater to pool against the shed wall and therefore seep in. This is what we had to prevent. The join between shed wall and concrete floor was fine, but it sure wasn’t water proof as there’d already been instances of water ingress.
This struck us as something of a common problem as most garden sheds are open. The roof is sealed, but that’s about it. Slight roof overhang makes up for a lack of seals on the wall to ceiling joins, but wall to floor is still vulnerable.
 The other issue we immediately recognised was the need for a product that could be installed without too much work. Dismantling the shed just to install a seal wasn’t an option (fair enough really) so we needed something that could be installed without pulling other things apart. This limited us to something that would sit on the outside of the wall to floor join or, something that could sit between them.
Just sealing the external face of the wall would have been fine, we probably could have used a silicone adhesive for this. The reason we decided against this was the size of the gap. Generally, silicone adhesives cover gaps of no more than 15mm and there were spots where the gap approached and even exceed this. The concern was in those spots we’d be building a dam, not a seal.
We also needed something that would not degrade because of UV exposure and weathering. Last thing anyone wanted to do was to install the solution then be replacing it in twelve months because it had gone brittle and stopped sealing.
Cost and ease of use were the final two factors. The plan was to install this ourselves so the easier the better. We also weren’t interested in anything too expensive. Tough to define for sure, but at the end of the day we were sealing the floor of a garden shed. It had to work, and last, but it couldn’t cost the world.
The Solution: Adhesive Neoprene Foam Rubber Tape
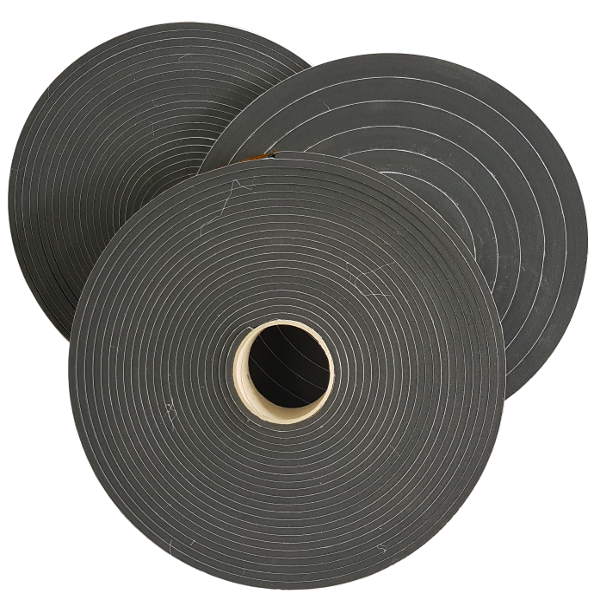
After working through each of the considerations, we’d decided on using an adhesive backed sponge tape. A solid rubber strip wasn’t an option as we couldn’t compress it enough by hand to ensure it created a seal between wall and floor. We looked at using non-adhesive Neoprene sponge, but decided against it as having the adhesive on the tape would be handy for positioning it.
Colour wasn’t an issue which was good as these rubber sponge tapes are almost always black.
The plan was to select one of these tapes and squeeze it in between the floor and wall and rely on its memory to ensure it created and maintained the seal. At this point, the only thing left to do was choose between the Neoprene Sponge and PVC Sponge Tape varieties.
 |
 Rolls.jpg) |
|
| Adhesive Neoprene Foam Tape (6100) | Adhesive PVC Foam Tape (3100) | |
| Water-Tight Seal Achieved | <10% Compression | <30% Compression |
| Hardness | 50 Shore 00 Avg. | 20-40 Shore 00 Avg. |
| Maximum Thickness Available | 19mm | 12mm |
We decided to run with the Neoprene Sponge Tape mainly because of its ability to seal at less compression. Like I mentioned earlier, some of the gaps we were sealing were up to 15mm. Using the Neoprene Foam Tape let us get away with 19mm thick (19mm - 10% = 17.1mm so 15mm would be water-tight).
PVC would have worked, but we’d have to go with 25mm thick as the Adhesive PVC Sponge Tape is water-tight at 30%. We would have also had to double up the PVC Tape, as its maximum available thickness is 12mm.
Feeling pretty good about our choice, we moved on to getting the product slit and installing the seal.
How we applied our Adhesive Neoprene Foam Tape Seal
This was easy and can be summarised as measure, cut and push into the gap. Nevertheless, the process followed is expanded on a little below.
One thing not mentioned is the fact that we did do a quick clean of the floor where the tape was going to be applied. Adhesion in this case was only required to keep it in place while we were installing it as compression would do the job long-term but, nevertheless, we did give the floor a quick brush down just to make sure the tape wasn’t sticking to any loose leaves, dust or dirt.
- Measure.
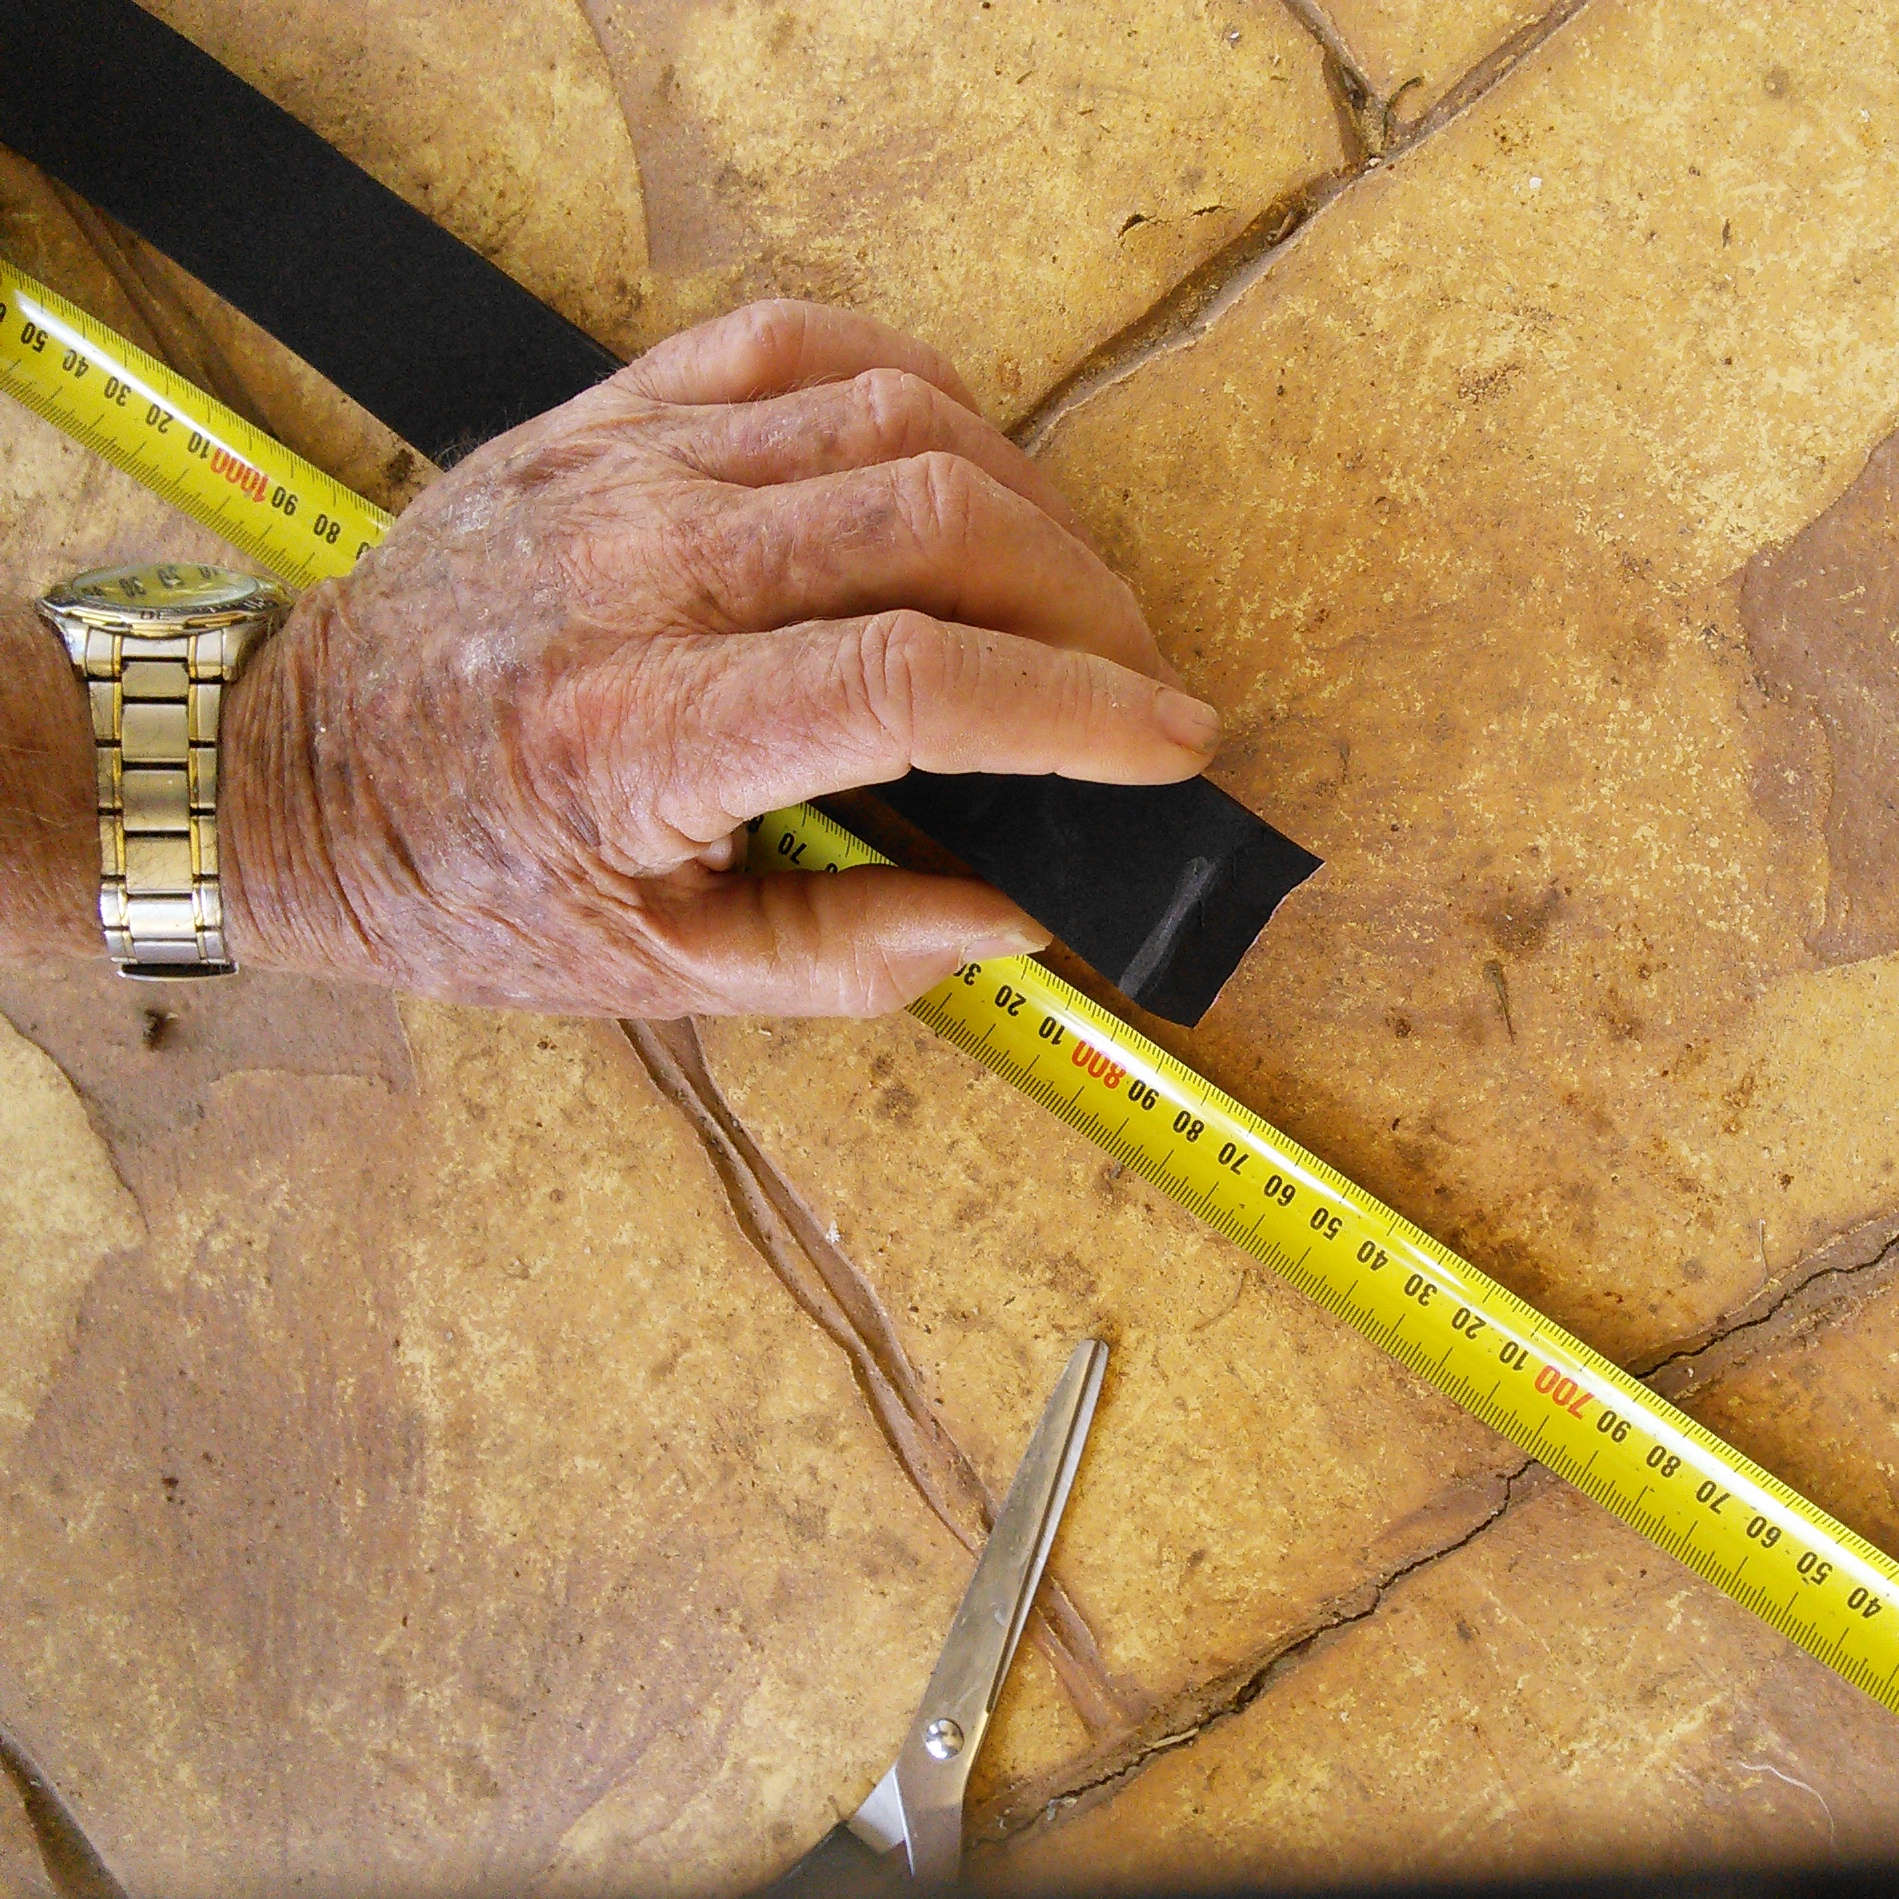
We’d already decided on 19mm thick sponge and to be on the safe side, we decided to run with 36mm wide so that is was a few millimetres proud of the wall on both sides. We also measured the total length we needed to cover the entire perimeter and rounded up to the nearest roll just to be sure we had enough.
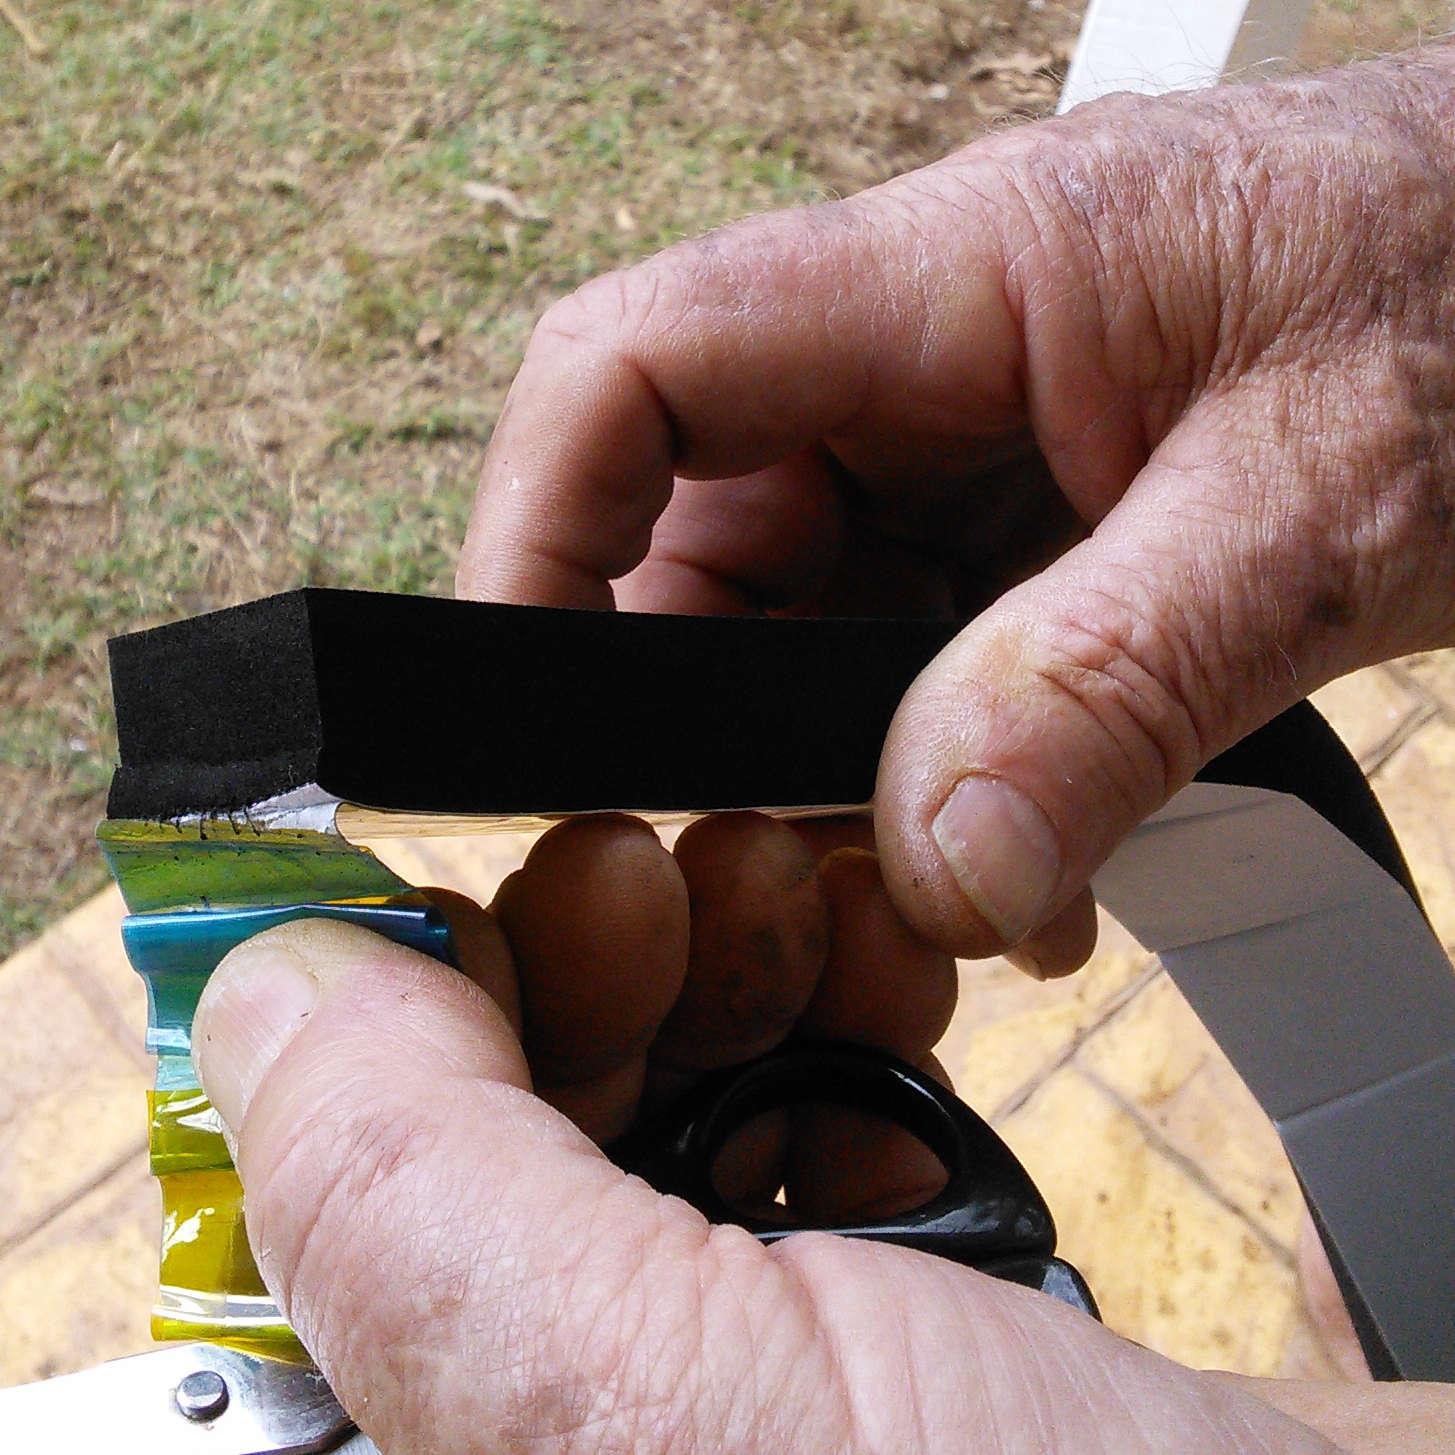
- Cut.
From experience, we knew that it would be far easier if we installed this sealing tape in strips rather than trying to do an entire wall length at once. Cutting the Adhesive Neoprene Sponge Tape down into strips is easy. We just used a pair of standard household scissors which got through it just fine.
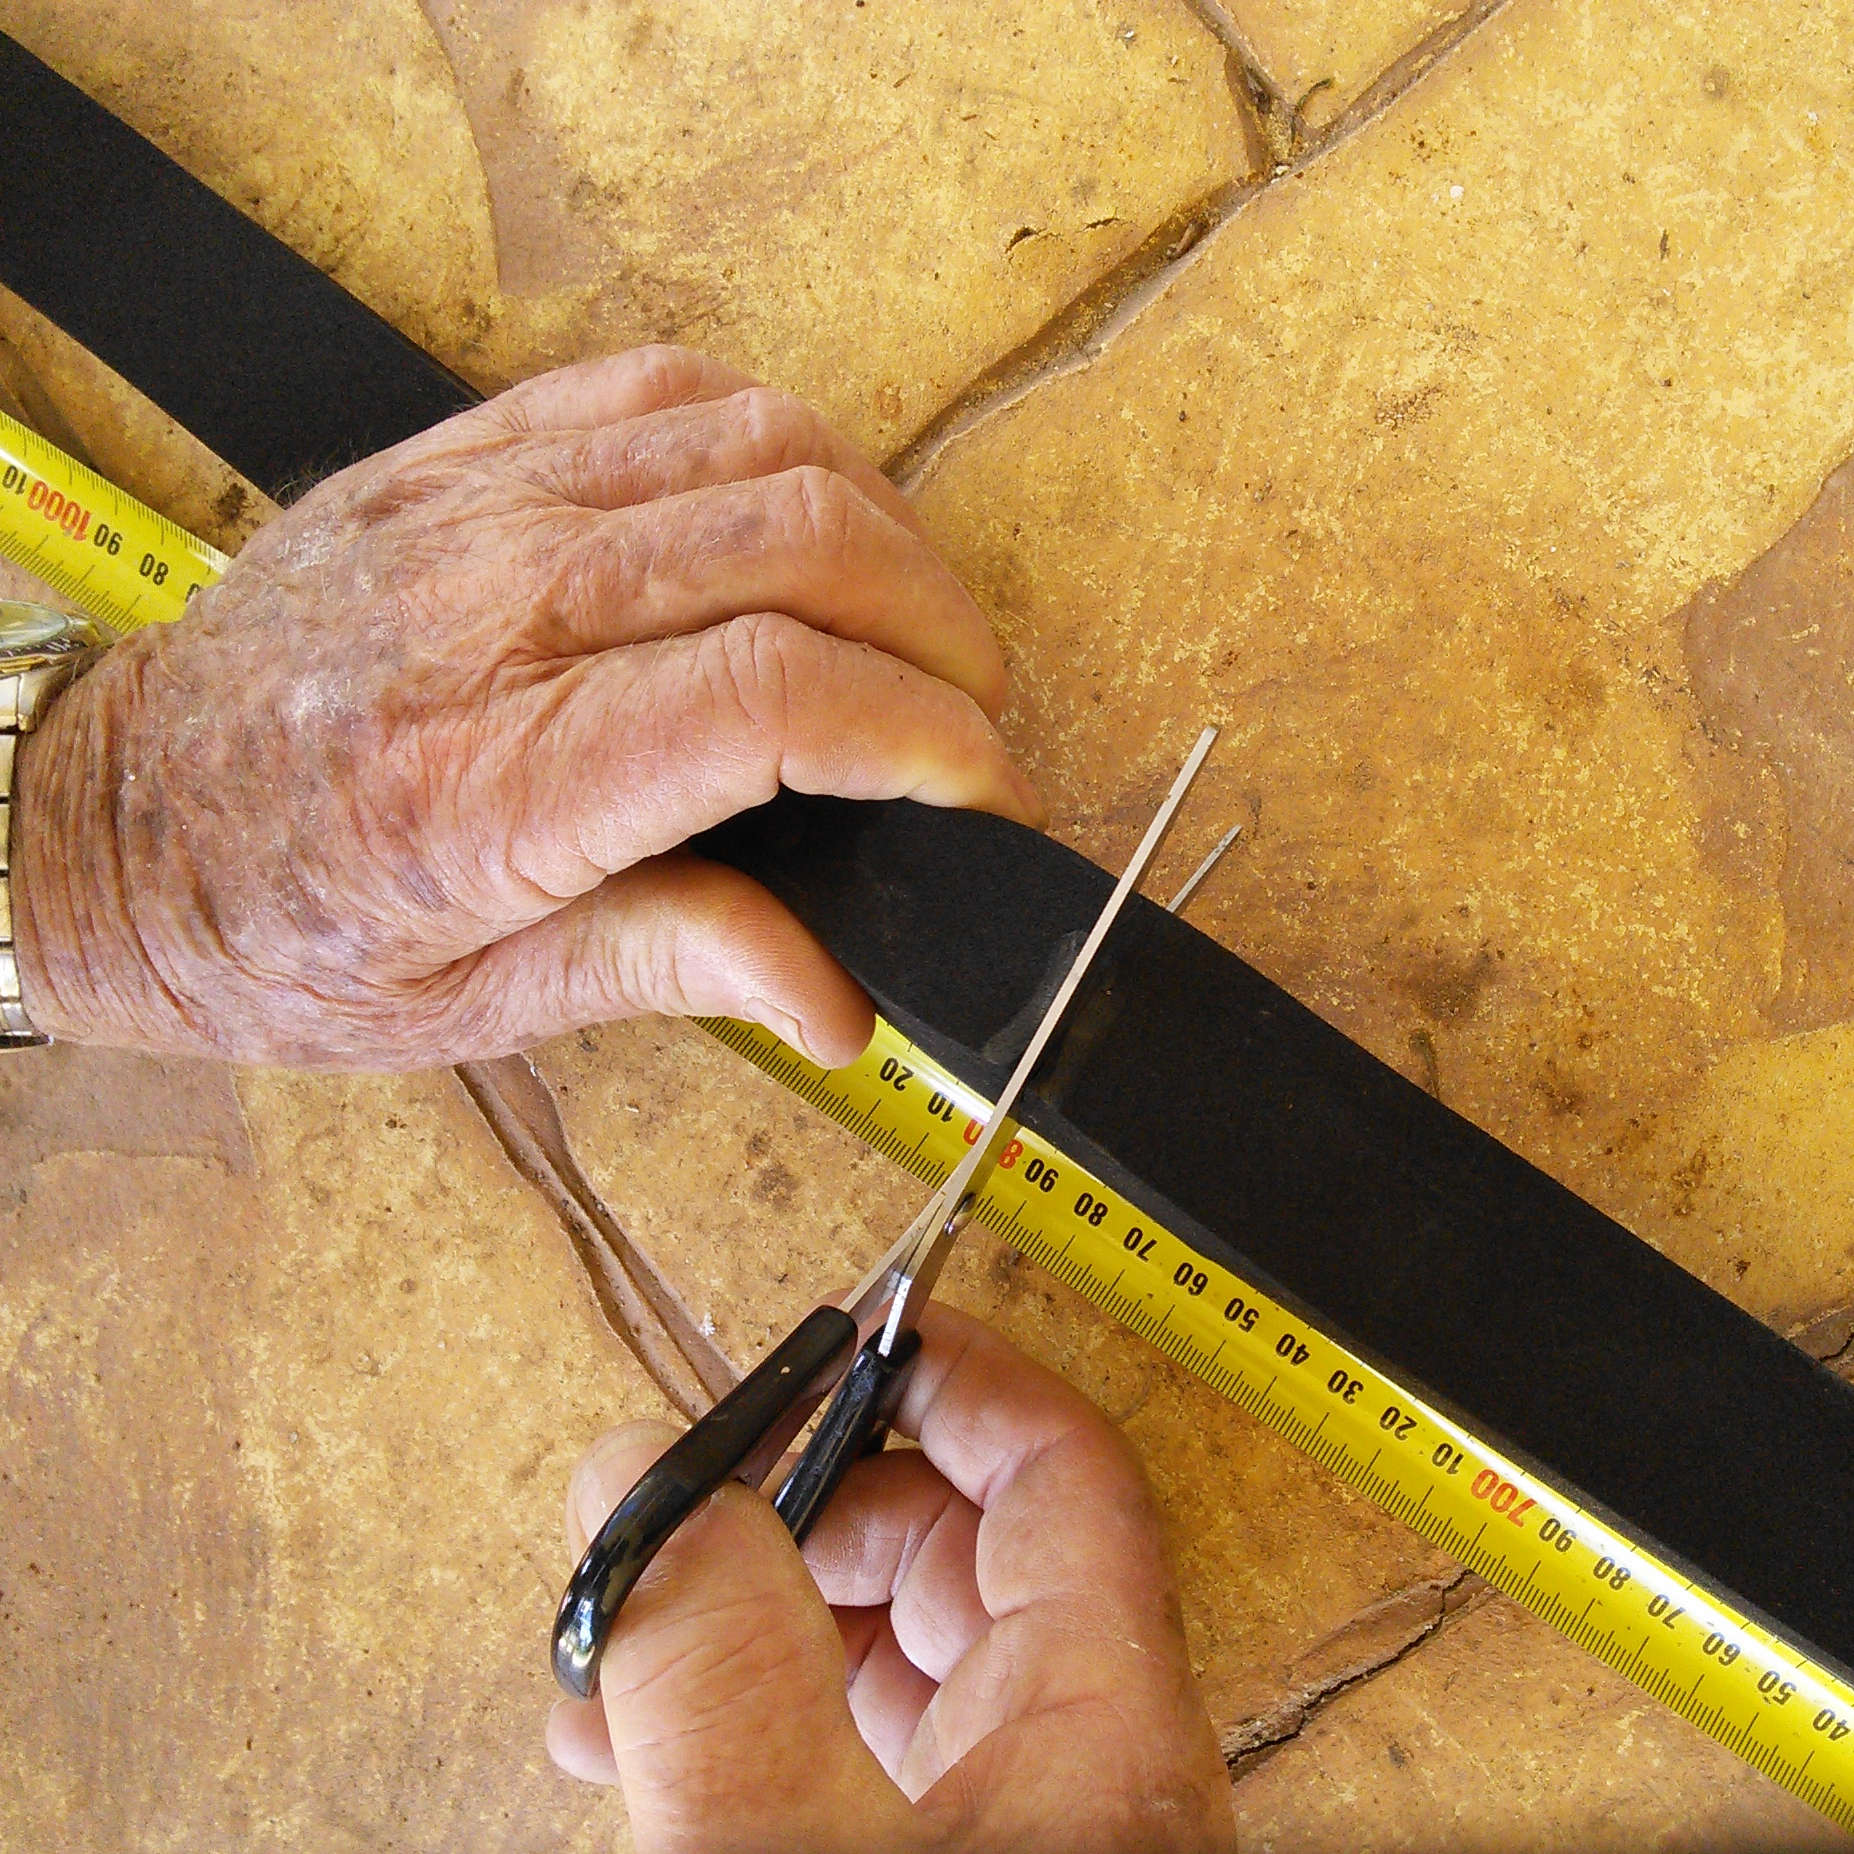
When the first strip was cut, we then removed the peel-off liner to expose the adhesive. At this point, we were ready to begin installing.
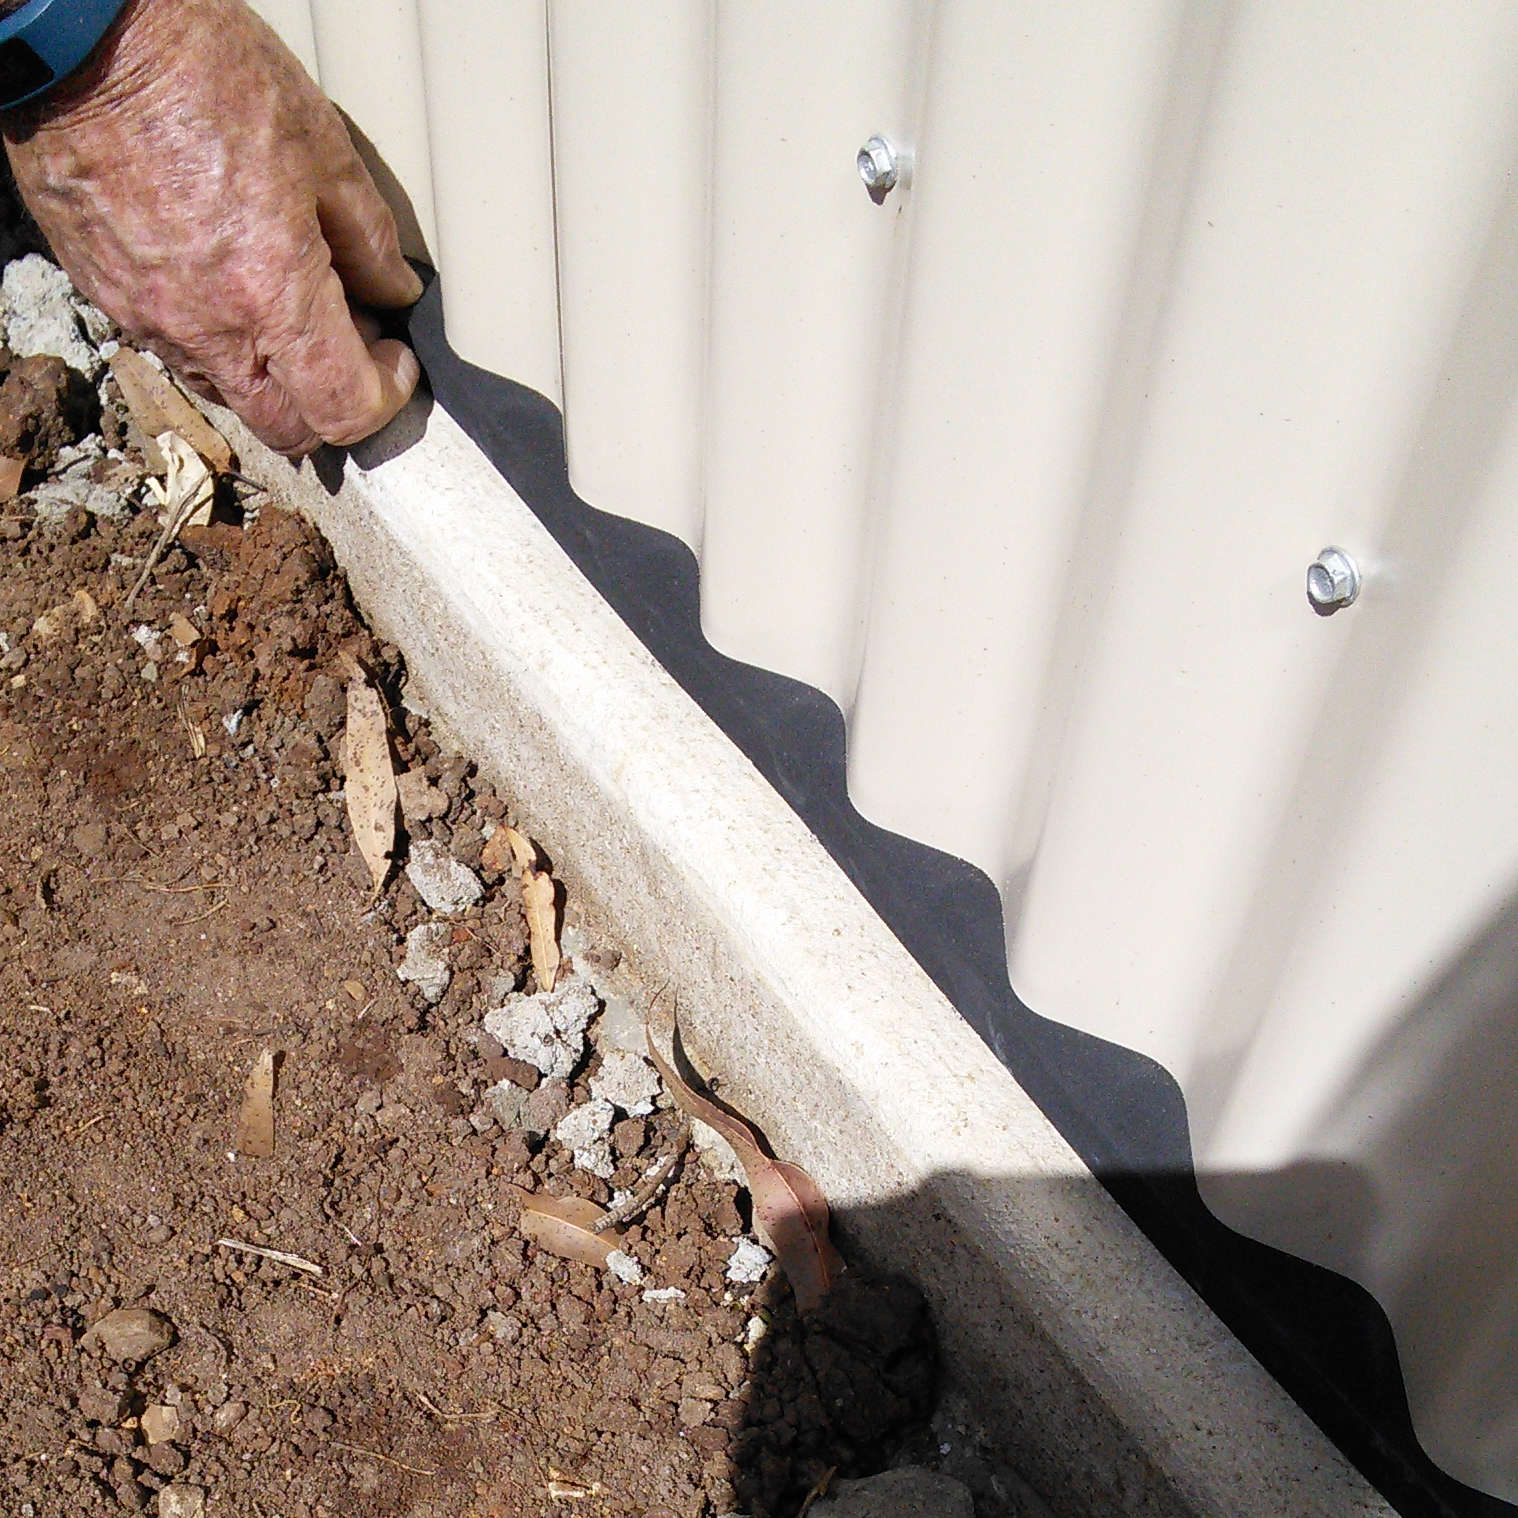
- Installation.
Adhesive Neoprene Foam Tape can be compressed with just your hands which makes it ideal for applications like ours. All we had to do was place the strip adhesive side down and push down while simultaneously pushing the tape in and under the shed wall. The adhesive gives you a little bit of time before gripping so it didn’t impede us.
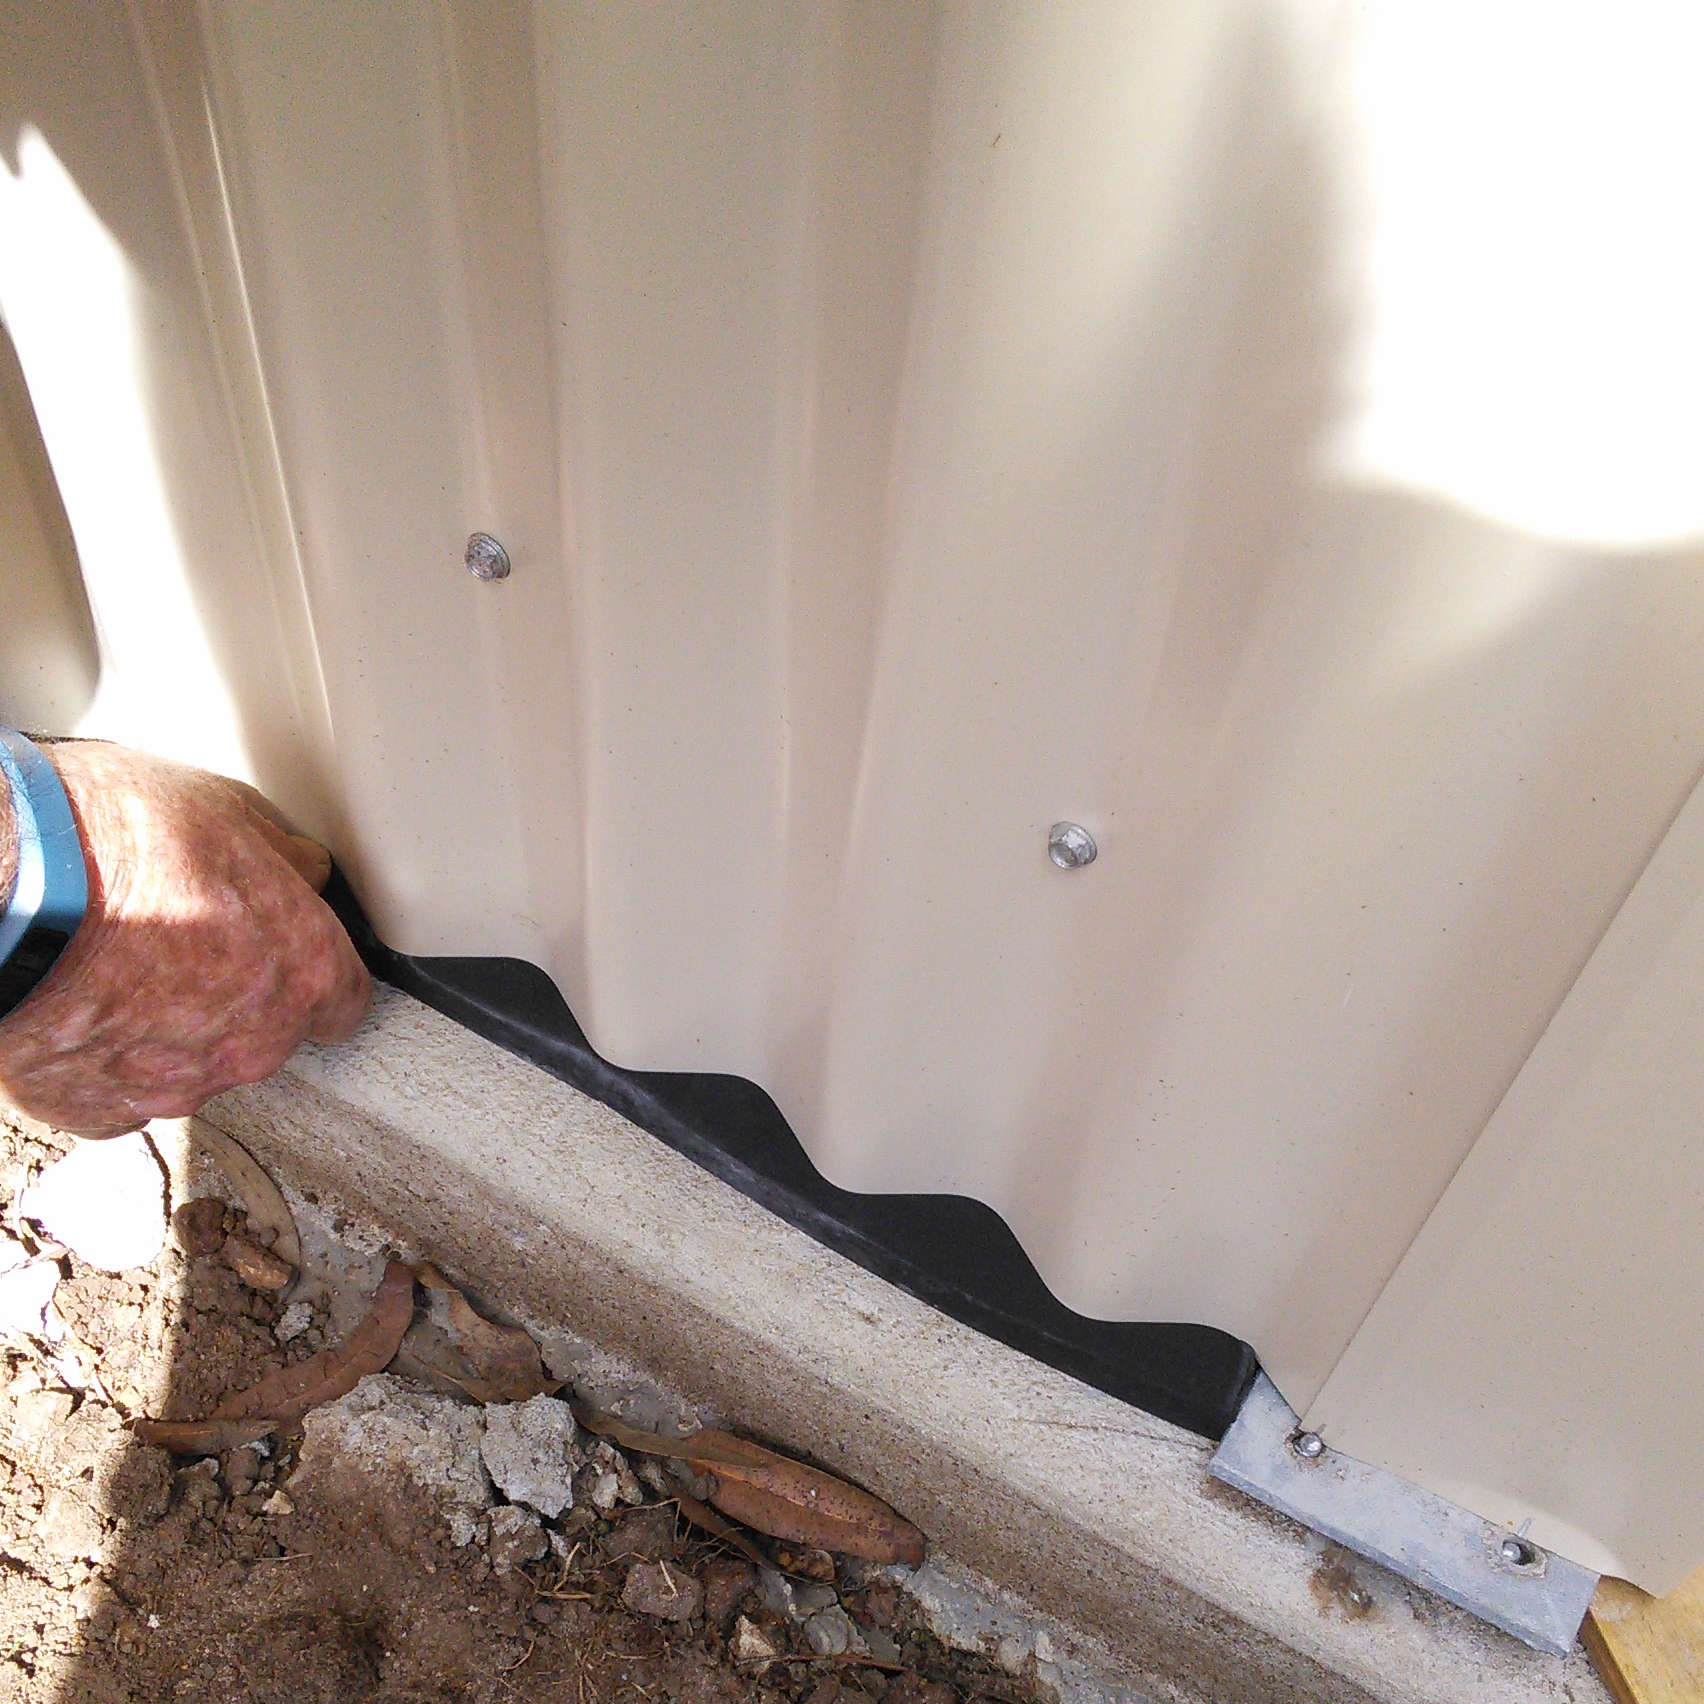
It was then as simple as working our way up the strip, pushing in each bit until the entire strip of neoprene foam tape was centred with the wall of the shed. At that point, the tape had already formed a good seal as it attempted to recover back to its original thickness and met with the wall.
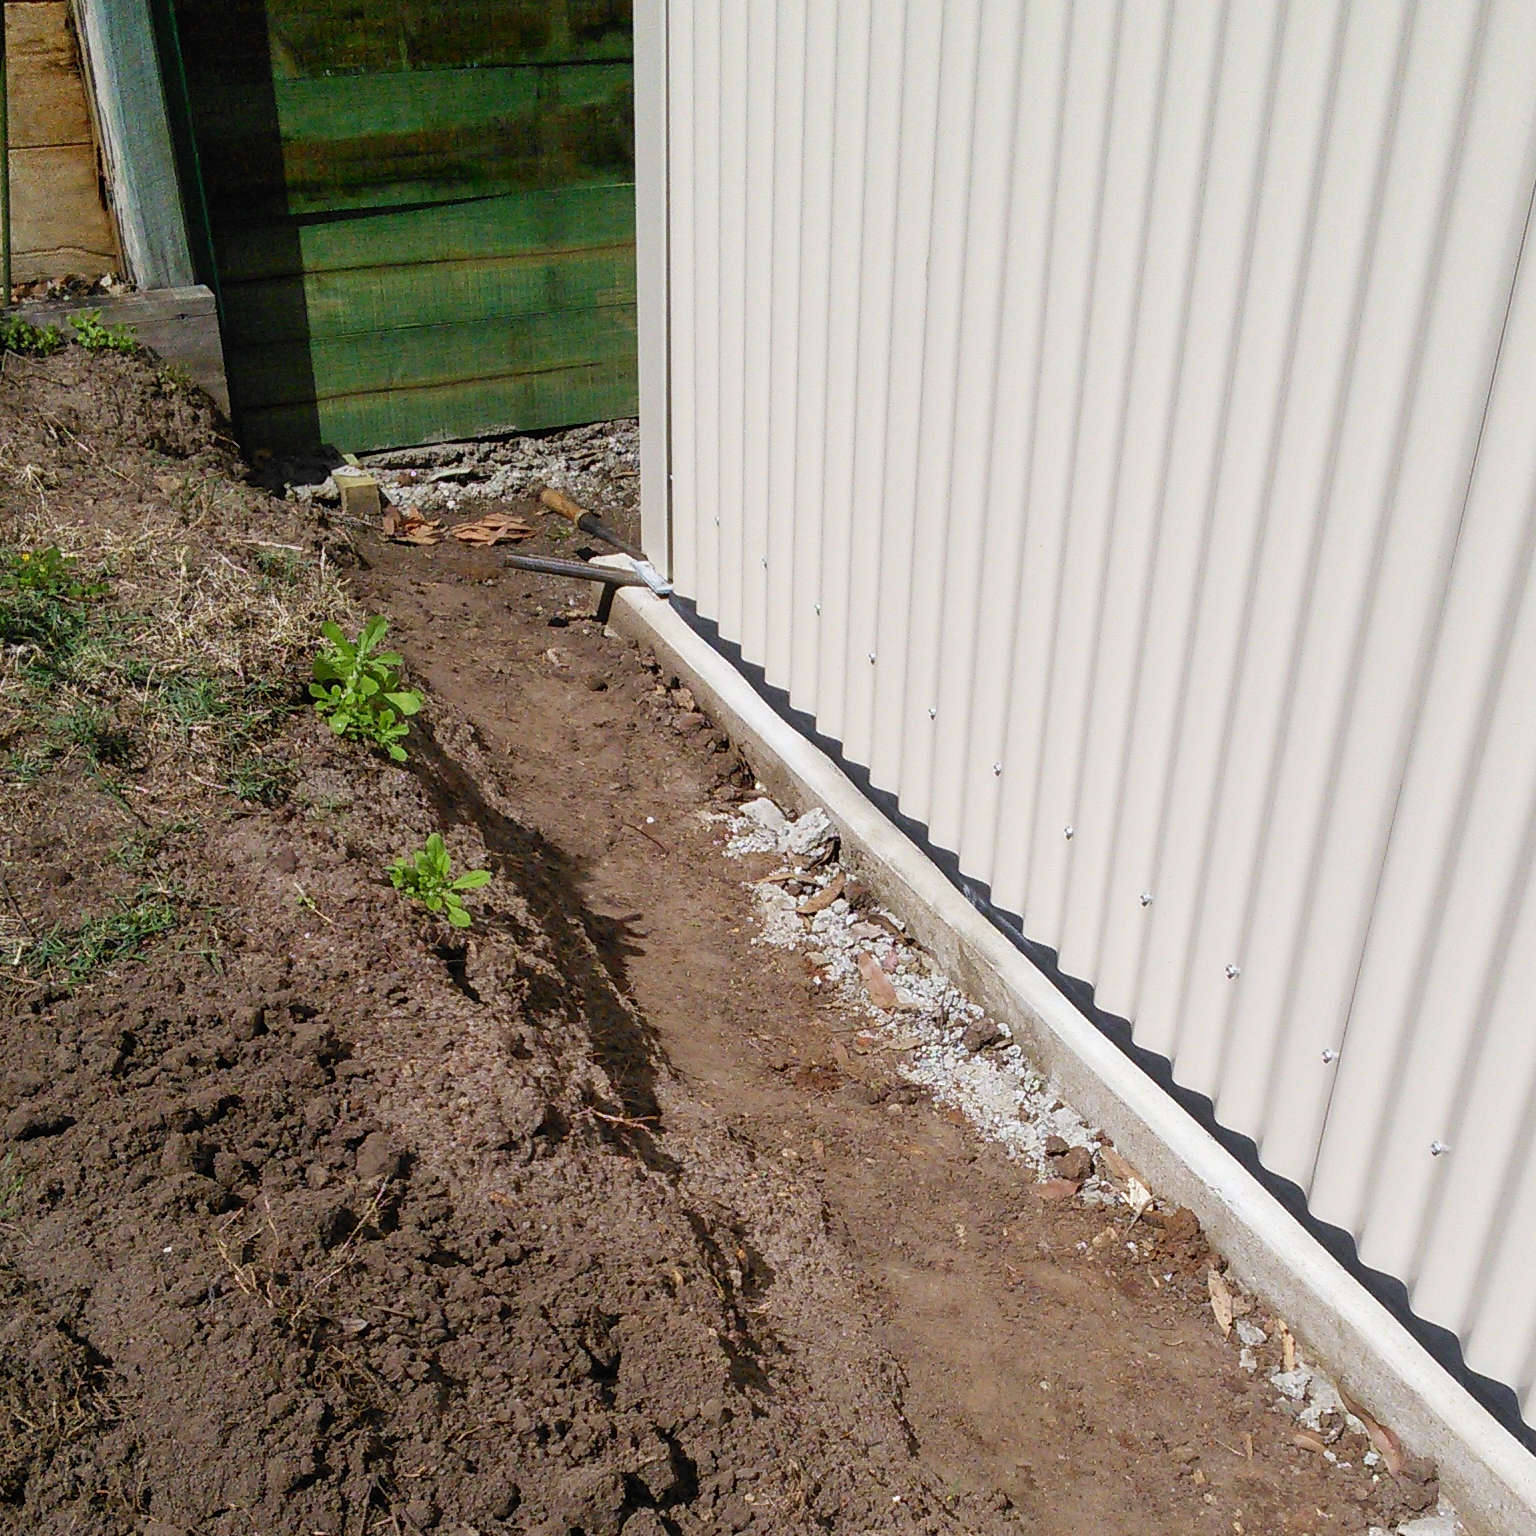
With the first strip now installed, we repeated the process of measuring, cutting and installing until the whole sheds perimeter was sealed. As we did this, the adhesives grip did help a bit as it provided an extra stop on us accidently moving one of the other strips as we put one in next to it. This let us use a little more force to butt-join the strips and ensure there was no potential leak pathway there.
 |
 |
 |
 |
 |
|---|
Testing - Did it Seal?
Yes. Yes, it did. To test it we grabbed the closest garden hose and gave the Neoprene Foam Tape seal a good spray. It’s unlikely that this will ever be done in real life but we figured the shed was near a garden bed so some direct spraying wasn’t out of the question. The video below shows the results.
Conclusion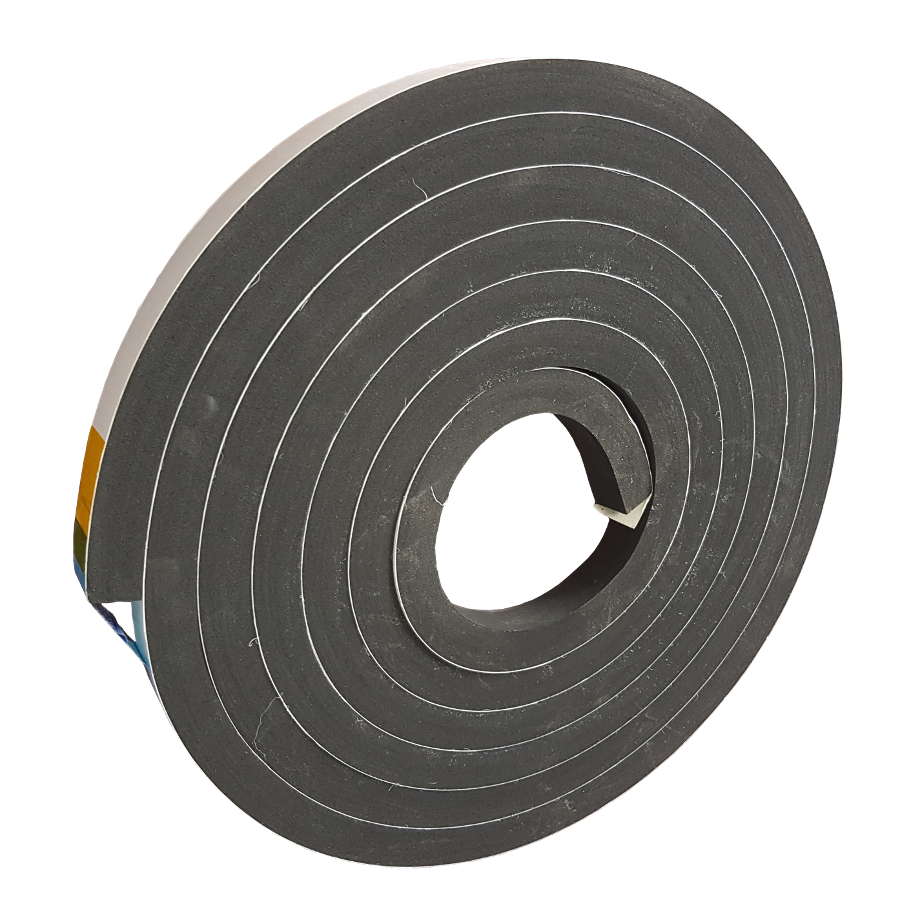
Overall, the Adhesive Neoprene Foam Tape used for this job has performed exactly as advertised. It’s been easy to work with, created a good, water-tight seal and was available in the range of sizes we needed. Time will be the ultimate judge of its longevity, but based on other experience we’ve had with this tape we see absolutely no cause for concern in this application.
I hope that you found this description useful in helping you plan your own work. Swift Supplies Online has both Neoprene and PVC Sponge Tapes in stock in a huge range of sizes or, if you decided to go with a silicone or elastic adhesive, we also have a selection of those available to suit almost any application.
We’re also here to help with material selection or custom size requirements, so if you do have any questions at all, please do not hesitate to contact us. We’ll be happy to help in any way we can.