Silicone O Rings are essential components in many industrial and mechanical applications, due to their excellent temperature resistance, flexibility, and durability. However, bonding Silicone O Ring Cord can be challenging due to its low surface energy. Low surface energy materials often repel most adhesives. This property, while beneficial in many applications, poses a significant challenge when you need to bond silicone to itself, or other materials. The only type of adhesive that consistently adheres to silicone is another silicone-based adhesive. This is where our HT 300 Silicone Sealant comes into play.
What You Will Need: 
- Silicone O Ring cord
- HT 300 Silicone Sealant
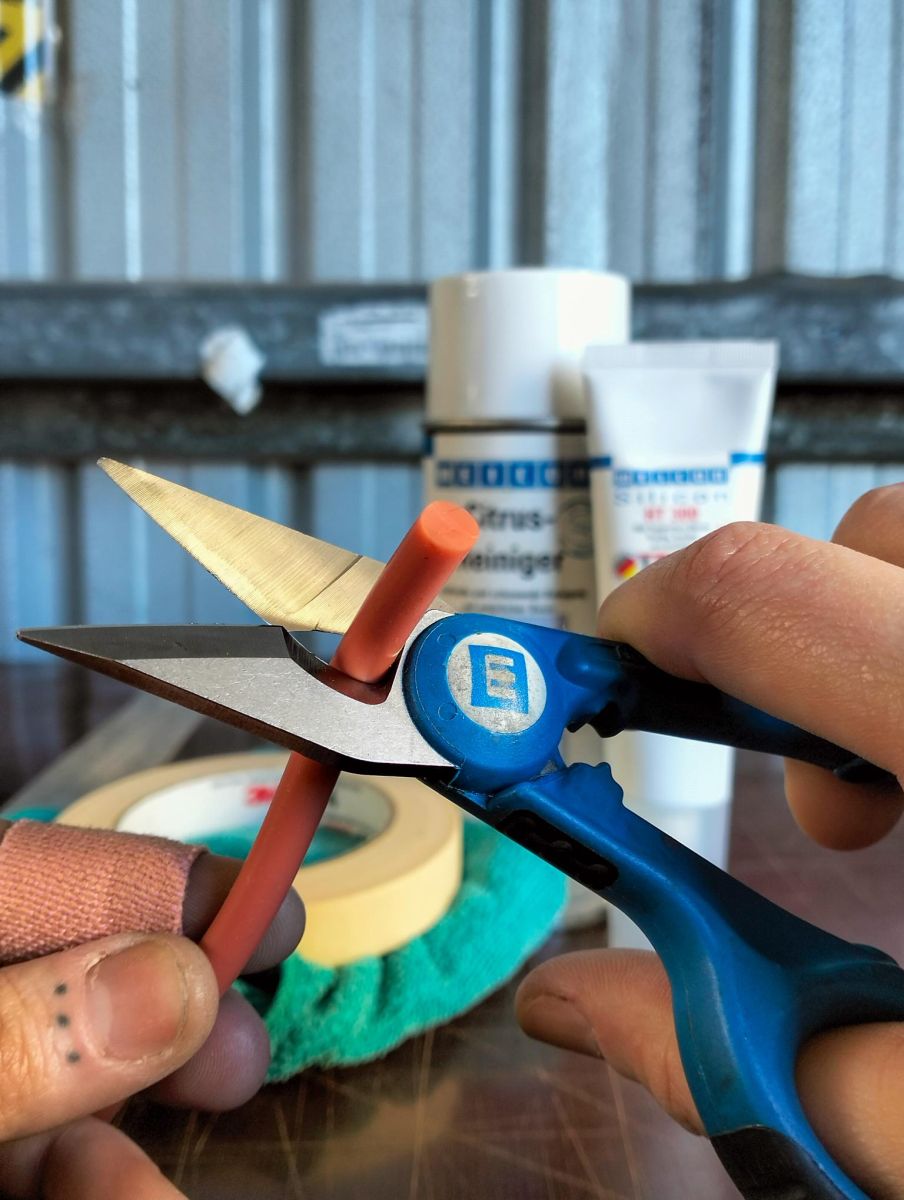
- Cutting tool (for trimming the O Ring cord) - If doing this frequently we suggest investing in
Cable Scissors No. 35 - Clean cloth
- Citrus Cleaner
- 3M 2214 Masking Tape (optional for holding ends together whilst adhesive is curing)
Step-by-Step Guide to Bonding Silicone O-Ring Cord
Step 1: Prepare the O-Ring Cord
Begin by cutting the Silicone O Ring Cord to the desired length. Ensure that the cut is straight and clean to allow for a seamless bond. A sharp cutting tool will help achieve a precise cut. 
Step 2: Clean the Surfaces
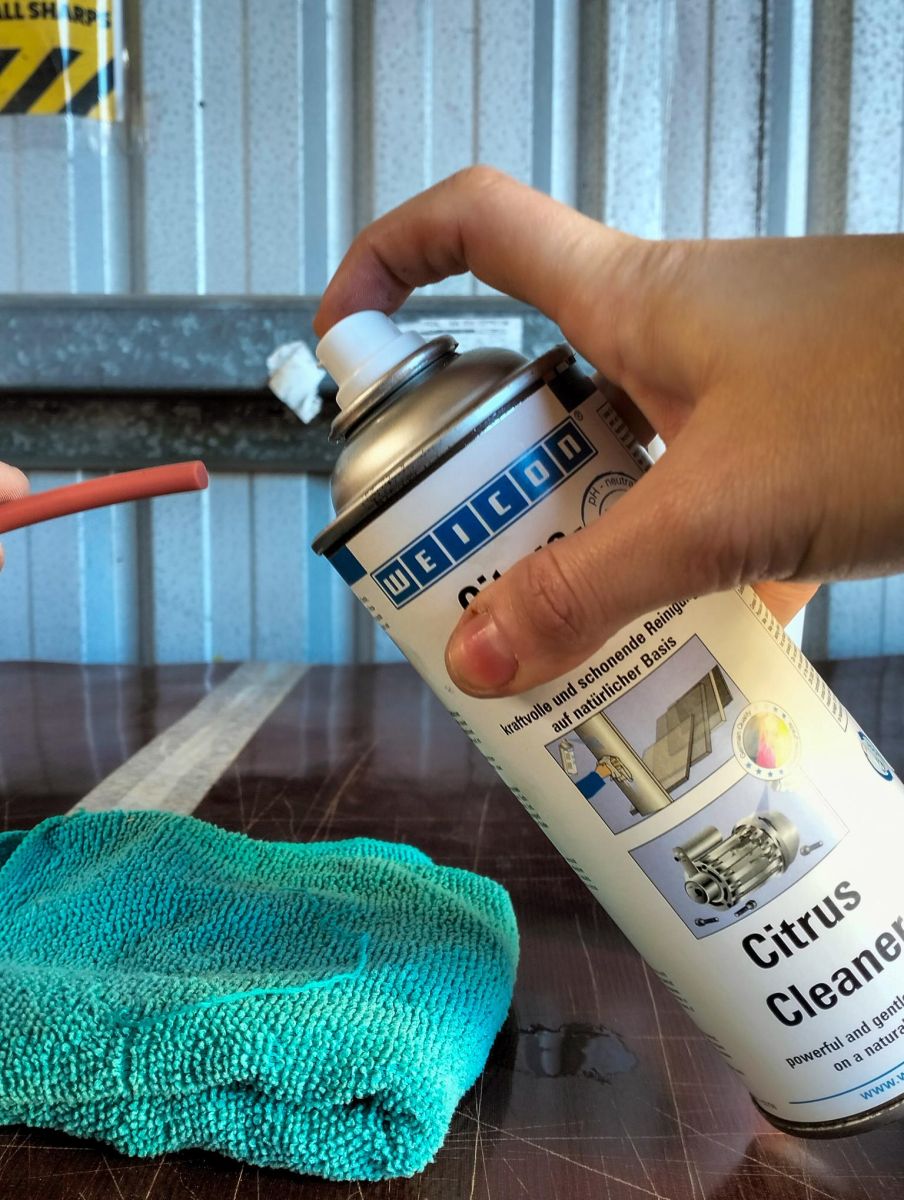
Using a clean cloth and our Citrus Cleaner, thoroughly clean the ends of the O Ring Cord that you intend to bond. This step is crucial to remove any oils, dirt, or residue that could interfere with the adhesive’s effectiveness. Allow the cleaned surfaces to dry completely before proceeding.
Step 3: Apply HT 300 Silicone Sealant
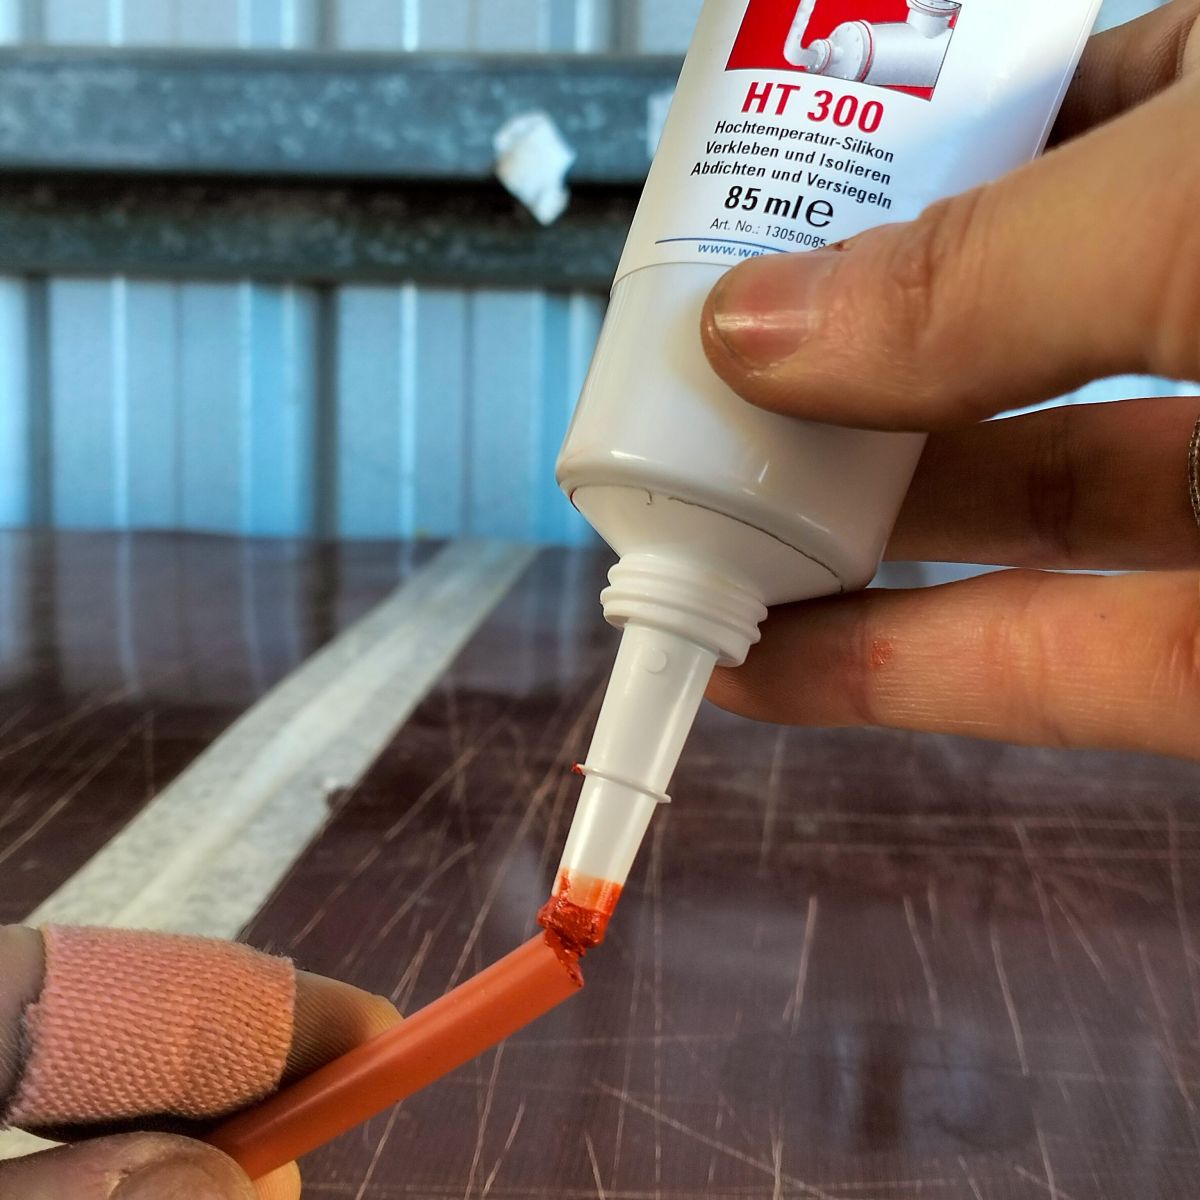
Carefully apply a small amount of HT 300 Silicone Sealant to one of the cleaned ends of the O Ring Cord. Ensure to apply an even, thin layer that covers the entire surface. Avoid applying too much sealant, as this can lead to a messy bond and longer curing time.
Step 4: Join the Ends
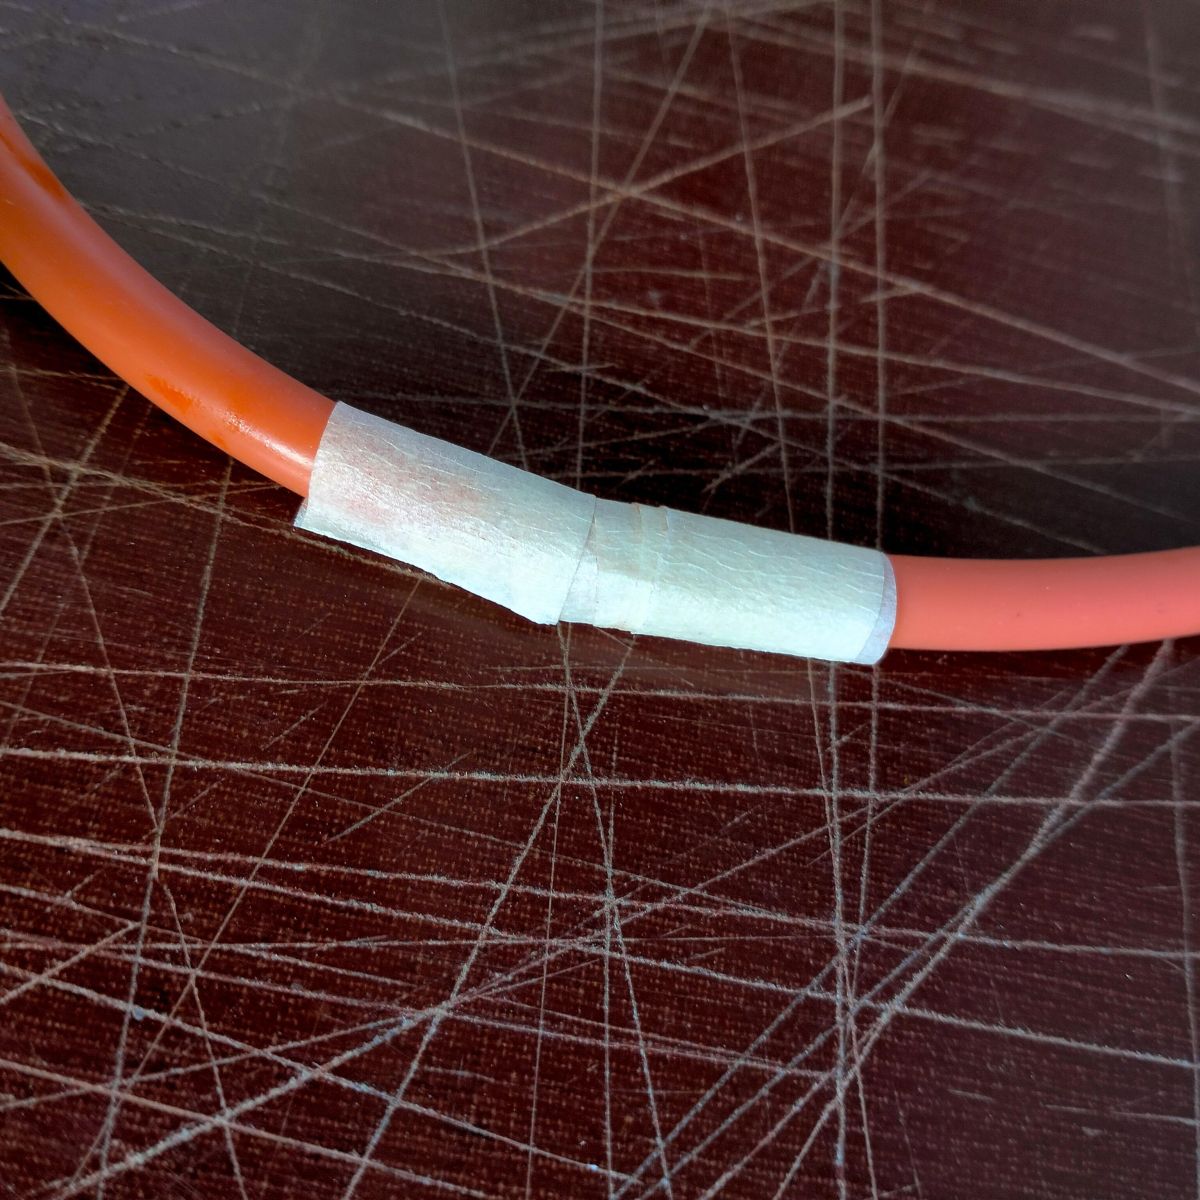
Press the two ends of the O Ring Cord together firmly. Hold them in place for a few minutes to allow the initial bond to form. For better alignment and a stronger bond, you can use our 3M 2214 Masking Tape to hold the ends together securely.
The HT 300 Silicone Sealant requires time to cure fully. While it may start to set within a few hours, we recommend allowing at least 24 hours for the bond to achieve maximum strength. Avoid any stress or movement on the bonded area during this curing period.
Step 6: Inspect the Bond
After the curing period, inspect the bonded area to ensure a strong and seamless connection. The bond should be flexible yet durable, maintaining the integrity of the O Ring.
Why Choose HT 300 Silicone Sealant?
Our HT 300 Silicone Sealant is specifically formulated to bond silicone materials effectively. It offers: 
-
High Adhesion: Designed to adhere to silicone surfaces, ensuring a strong and durable bond.
-
Temperature Resistance: Can withstand extreme temperatures, making it ideal for industrial applications.
-
Flexibility: Maintains flexibility after curing, which is crucial for the dynamic nature of O Ring applications.
Conclusion
Bonding silicone O Ring Cord doesn't have to be a daunting task. By using the right adhesive, such as our HT 300 Silicone Sealant, and following the proper preparation and application steps, you can achieve a strong and reliable bond. Whether you're repairing a damaged O Ring or creating custom sizes, our HT 300 Silicone Sealant ensures that your silicone O Ring performs at its best.
Feel free to reach out to us with any questions or for further assistance with your silicone bonding needs. Happy bonding.
Our Silicone O Ring Cord is available in the below diameters and sold by the metre
|
White |
Red |
|
1.5mm |
6.4mm |
|
1.78mm |
7mm |
|
2.0mm |
8mm |
|
2.4mm |
9.5mm |
|
3.0mm |
10mm |
|
3.53mm |
12.7mm |
|
5mm |
14mm |
|
8mm |
16mm |
|
|
19mm |
|
|
22mm |
|
|
25mm |
|
|
30mm |


Leave a comment