One of the best things about super glue is how easy it is to use. No complex mixing, heat activated curing or special dispensing gear needed. That said, there are a few tips and tricks for applying super glue to plastic which can really help with creating a clean, strong bond.
In this, part 4 of our 4-part series on our best super glues for plastic, I’m going to talk about some of the tips I’ve picked up over the years working with these glues in all kinds of industries. If you missed any of the first 3 parts in the series, you can find them via the links below:
Part 1: Tips and Methods for Identifying Different Types of Plastic
Part 2: Choosing a Super Glue for Different Types of Plastic
Part 3: Preparing the Plastic Surface for Bonding
Tips for Applying Super Glue to Plastic
 Gloves
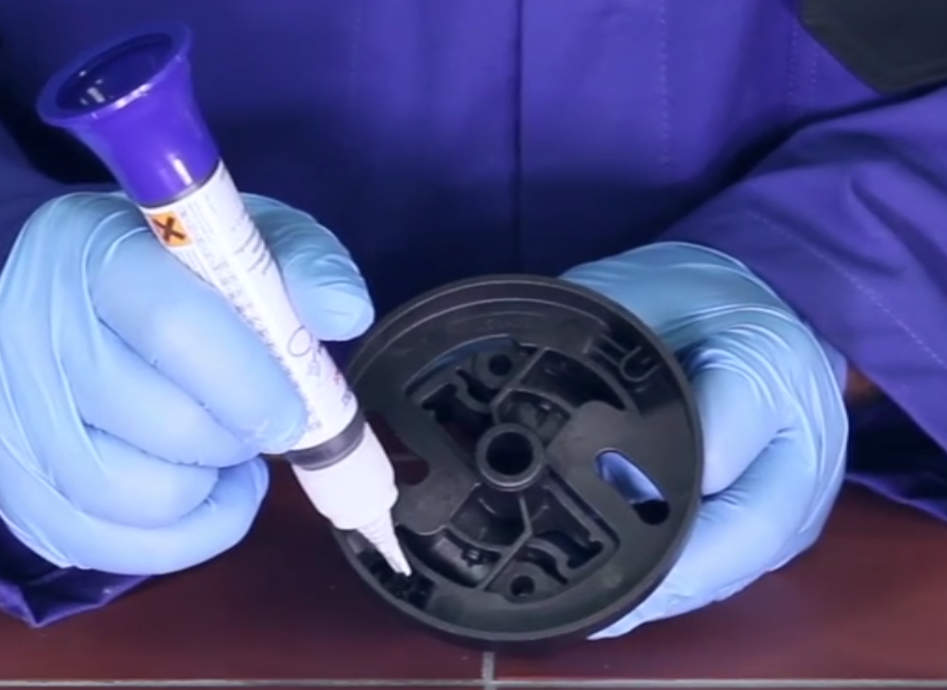
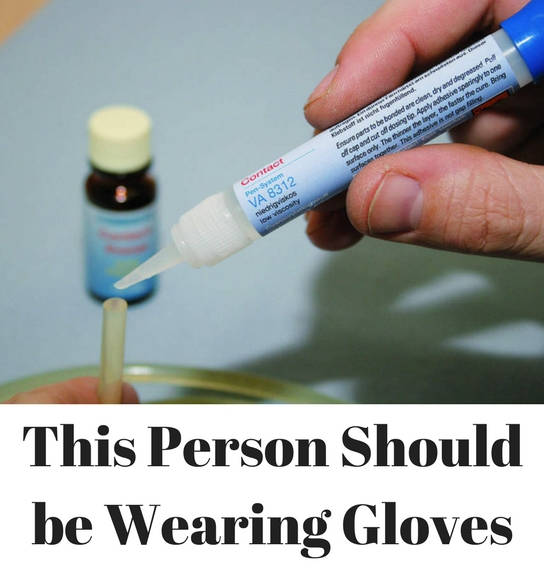
Super glue will stick to just about anything and that includes skin. A simple solution to this is to make sure you wear a pair of gloves before opening the glue. No one ever intends to glue their thumb to the workbench, but it happens.
This is especially true if working with small pieces of plastic or viscous (runny) types of glue. The Safety Data Sheet on each of our glues details exactly what to do if the glue does come into contact with your skin. It is a lot easier to put on a pair of gloves first though and prevent it happening in the first place.
Masking
If the area you’re bonding is particularly complex, it will make life a lot easier if you mask the surfaces surrounding the bonding area before applying the glue. Mistakes do happen and a bit of masking tape can stop them from being too problematic.
While on the subject of masking, it’s also a good idea to cover up surrounding areas with an old rag or cloth. Just in case you drop the bottle this will prevent surfaces being ruined.
 Apply the Glue to One Surface Only
One of the great misconceptions about cyanoacrylate adhesives is that more is better. It’s not. Super glues in general, and our Weicon industrial super glue range in particular, are very economical and adding more glue will not increase the bond strength. In fact, it may reduce it.
Linked to this misconception is the advice that the glue should be applied to both bonding surfaces. Some other types of adhesive (like our GMK 2410 Rubber Metal Contact Adhesive) do need to be, super glues do not.
Just apply a small amount of the glue to one of the surfaces being joined. The exact amount will, of course, vary depending on bond size, material type and the chosen glue but a good rule of thumb is to apply the super glue drop by drop. Each drop will cover about 3-5cm² of surface area.
Press the Parts Together (Lightly)
As soon as you have the glue in the right spot on one of the surfaces, press the two parts together under light pressure. Please, don’t press so hard that you force the glue to squeeze out from between the parts; that will simply undo all the good work you did with glue application.
The amount of time you will need to hold the parts together for will vary depending on a number of things; some of which include:
 The type of materials you are bonding.
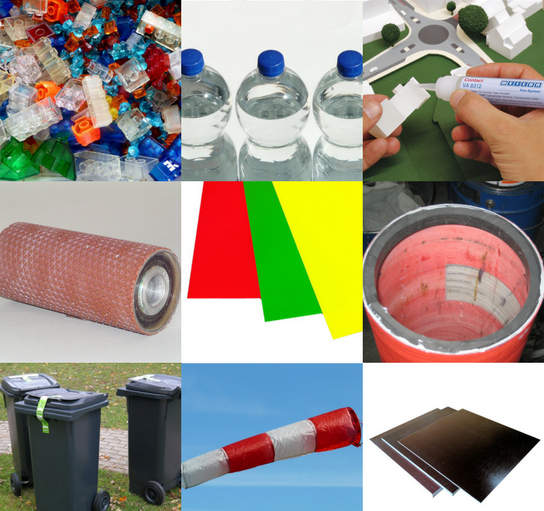
Different types of surfaces will impact the initial bond strength of super glues differently. To illustrate this point, let’s take our VA 8312 Industrial Super Glue as an example.
On NORA Test Rubber, VA 8312 achieves initial adhesion in about 2-10 seconds. On Aluminium, it’s more like 30-60 seconds. Rigid PVC sits somewhere in the middle and will take about 5-30 seconds. All are fairly quick, but there are significant differences.
This comes back to a couple of things. The surface energy of the material (which we explored in depth in Part 2 of this series) and the pH value of the bonding surface are two of the most prominent. Basic reacting materials (i.e. those with a pH value >7) will allow the glue to bond faster while acidic reacting surfaces (<7 pH) will extend the time taken to achieve adhesion. In extreme cases, very high acidic reactions can even inhibit polymerisation altogether.
The temperature you are working in.
The room temperature in which you are applying the super glue will have a large impact on the time taken for it to achieve initial adhesion. In fact, the temperature will affect more than this and can change the nature of the glue itself if it gets outside certain ranges. Higher temperatures will reduce the viscosity of the glue (make it runnier) while lower temperatures will increase it (making it seem thicker).
The higher the temperature, the faster the adhesion time. All those estimates for VA 8312 listed above, they’re based on working in an operating temperature of 23°C. If you’re working in an area below this, they’ll be extended. Working somewhere hotter, they’ll shorten even more. Since different glues respond differently to temperature there’s no real way of saying exactly how much it will change (it also depends on material and humidity) but the principle is one to be aware of.
 The humidity in the air around your work area.
Cyanoacrylate Adhesives work by interacting with the moisture in the air. Try to apply them in an oxygen free environment, and they won’t cure. It therefore stands to reason that one of the largest impacting factors on a glues cure time is the humidity in the environment in which it has been applied.
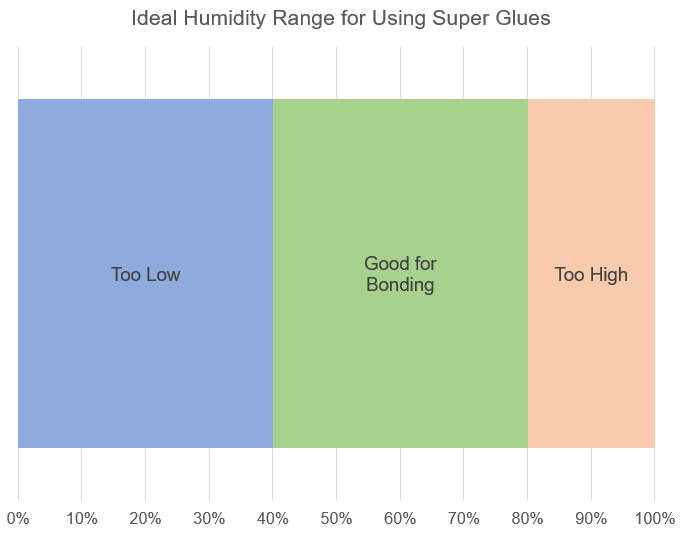
Higher humidity will accelerate cure time, while lower humidity will extend it. Taken to extreme levels, and the effect can get more pronounced. The ideal environment for applying super glue is anywhere with a relative humidity of 40% to 80%.
In conditions below 40%, the cure will be substantially slowed or even inhibited. With a relative humidity greater than 80%, of when bonding basic substrates such as glass, shock-curing can occur. In such situations, some materials exhibit a drop in bond strength of approximately 10-15% due to inner tensions created in the bonding line.
Just like temperature, all of our super glue data sheets list the humidity present in the environment in which their initial adhesion times were estimated. Typically, this was done at 50% relative humidity in line with DIN standards.
As a quick aside, this interaction between the glue, temperature and humidity is also the reason why you should try and keep super glues in the fridge when not in use. Especially containers that have been opened but not fully used. The lower temperature and humidity will significantly decrease the chance of curing in the tube and extend the storage life of the glue.
 The type of glue being used.
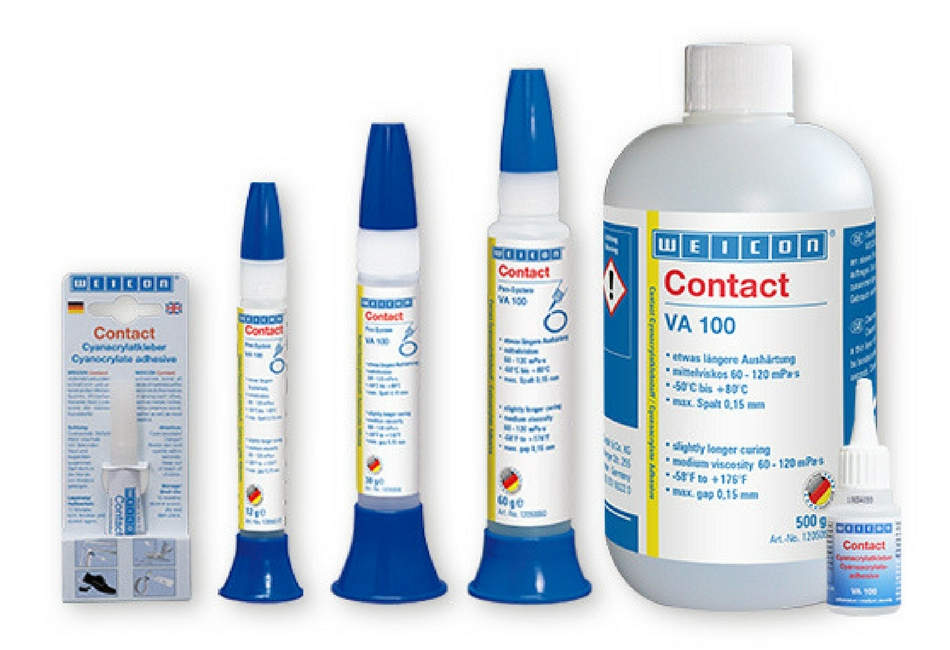
The final (major) factor that impacts a super glues cure time has nothing to do with the environment and everything to do with the glue itself. At this point, it’s no surprise that different glues cure at different rates. The reason this section exists is to a) emphasise this point and, b) stress the difference it can make.
We’ve seen glues that vary in terms of cure time by more than 1,000%. Where some would achieve initial adhesion in about 5 seconds, a different type (used on the same materials in the same environment) took around 4 minutes. Depending on your requirements, either can be desirable. The point is to be aware of the stark difference possible when planning for how long you need to secure the parts being bonded to allow initial adhesion to occur.
 Applying a Primer and Super Glue to Plastic
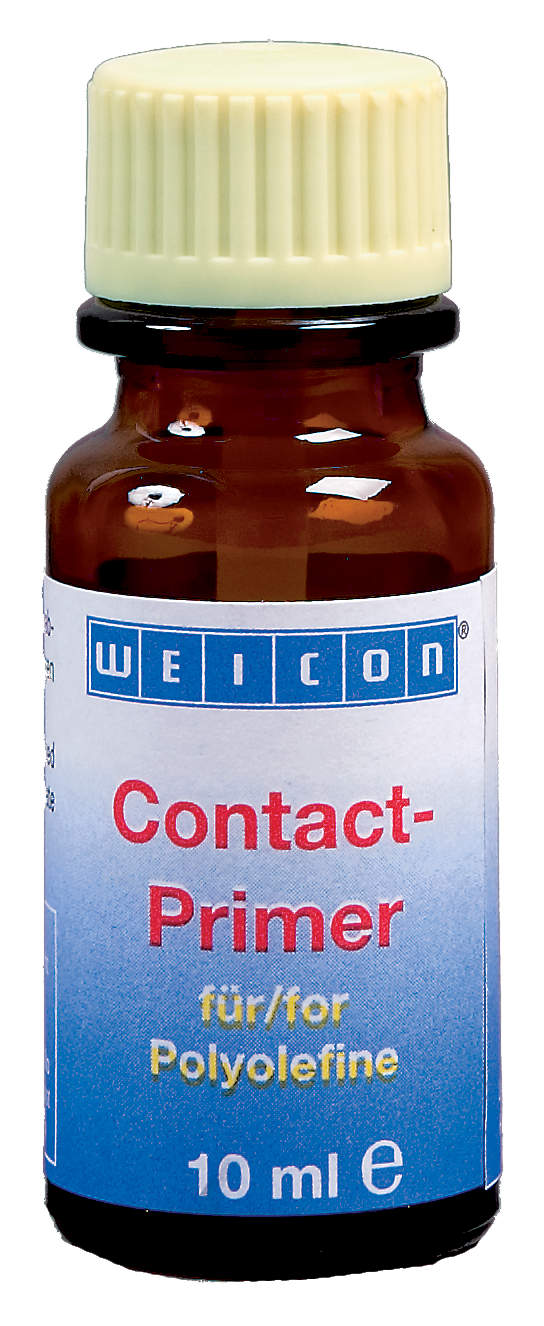
For some types of material (usually certain types of plastic) you’re going to need a primer. Typically, these include polypropylene, polyethylene and, definitely, (un-etched) PTFE. In addition, there are many more where the super glue will bond, but the strength of the bond will be significantly increased with the use of a primer.
There are a number of super glue primers out there and each will require different methods of application. Here, we’ll speak specifically about our Contact Primer for Polyolefins which allows you to use a number of our different super glues to bond materials like PTFE, PP or PE.
Applying this primer is quite simple, spray or brush a very thin layer onto one or both of the materials being bonded (one if it’s just the one that requires the primer, both if they’re both difficult to bond). Allow some time for it to react with the surface and evaporate a little then apply the super glue. That’s about it. By using this primer you will be modifying the surface which will allow it to accept the glue and therefore achieve a good, strong bond.
 More Information
Thanks for taking the time to read this article on our tips and tricks for applying super glue to plastic. As we mentioned a few times throughout, this is part 4 in our series on Super Glues for Plastic and, if you’ve missed any, you can find them via the links below:
Part 1: Tips and Methods for Identifying Different Types of Plastic
Part 2: Choosing a Super Glue for Different Types of Plastic
Part 3: Preparing the Plastic Surface for Bonding
Have a tip that hasn’t been listed and that could help others? Please let us know in the comments. Alternatively, if you have other questions that haven’t been covered here, or would like a little personalised advice on what to do with your specific application, please do not hesitate to contact us here at Swift Supplies. We’ve been working with high quality super glues for years now and would be happy to help you in finding the very best bonding method for your application.

Leave a comment